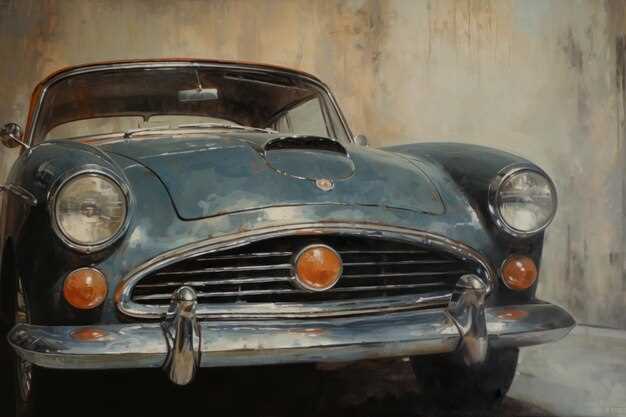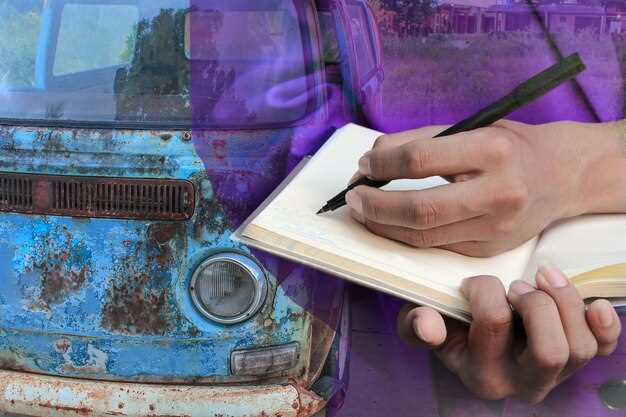
Restoring vintage cars is an art that requires both skill and passion. One of the most crucial aspects of this process is painting, which not only enhances the vehicle’s aesthetic appeal but also protects it from the elements. Properly executed restoration and painting techniques can breathe new life into a classic automobile, making it a treasured possession for years to come.
A successful restoration project begins with an understanding of the specific techniques needed for painting vintage cars. This involves preparing the surface meticulously, selecting the right type of paint, and applying it expertly to achieve a flawless finish. Mastering these skills not only elevates the quality of your work but also enhances the value of the car itself.
In this article, we will explore various techniques and tips used by professionals when painting vintage cars. From surface preparation to paint application, we will cover all the essential steps to ensure your restoration project yields stunning results that stand the test of time.
Choosing the Right Materials for Classic Car Restoration

When embarking on a classic car restoration project, selecting appropriate materials is crucial for achieving a professional finish in both restoration and painting processes. Quality materials not only ensure longevity but also enhance the aesthetic appeal of the vehicle.
1. Primer Selection: Choosing the right primer is foundational for a successful paint job. An epoxy or high-build primer is recommended for classic cars, as it provides excellent adhesion and corrosion resistance. This is essential, especially for older vehicles prone to rust.
2. Paint Type: The type of paint you select will significantly impact the final appearance. For classic cars, basecoat/clearcoat systems are popular as they offer a deep, glossy finish while providing protection against UV rays and environmental damage. Consider using urethane-based paints for their durability and ease of application.
3. Color Matching: Classic cars often have original color schemes that require careful matching. Utilizing paint codes from manufacturer databases or consulting restoration experts can help in achieving an accurate color that maintains the authenticity of the vehicle.
4. Clear Coats: A high-quality clear coat is essential to protect the paint from scratches, chemical stains, and fading. Look for clear coats specifically designed for automotive use, offering UV protection and clarity, which enhances the overall depth of the color.
5. Sandpapers and Abrasives: During preparation and sanding, using the right grits is important. Start with coarser sandpaper (around 400-grit) for shaping and work up to finer grits (up to 2000-grit) to achieve a smooth surface before painting. This prevents imperfections from showing through the final coat.
6. Sealants and Finishing Touches: After the paint application, using sealants can further protect the paint. Choose products that are compatible with your paint type, providing an additional layer of protection while enhancing the gloss.
In summary, when restoring and painting classic cars, attention to material selection is key. High-quality primers, paints, and protective products not only ensure a beautiful finish but also preserve the vehicle’s integrity for years to come.
Step-by-Step Guide to Preparing a Vintage Car for Painting
Preparing a vintage car for painting is a critical step in the restoration process. Proper preparation ensures that the paint adheres well and that the final finish is smooth and flawless. Follow these steps to achieve professional-quality results.
1. Gather Essential Supplies
Before starting, gather all necessary supplies, including sandpaper (various grits), masking tape, primer, filler, paint, and safety equipment such as gloves and a mask. This will streamline the preparation process.
2. Clean the Surface
Thoroughly wash the car to remove dirt, grease, and any old wax. Use a quality automotive cleaner and scrub the surfaces where you will be painting. Rinse well and let it dry completely.
3. Remove Old Paint
If the existing paint is peeling or damaged, it needs to be removed. Use sandpaper or a paint stripper for this step. Sanding will also smooth out any imperfections on the surface. Work in sections and ensure you reach bare metal if necessary.
4. Repair Body Damage
Inspect the body for any dents, rust, or other damage. Use body filler to repair dents and a rust treatment product for any affected areas. After applying filler, sand it down until it is flush with the surrounding surface.
5. Sand the Surface
Once repairs are done, sand the entire area that you plan to repaint. Start with coarse sandpaper (around 80-grit) to remove imperfections, then switch to finer grit (up to 320-grit) for a smooth finish. This helps the new paint bond better to the surface.
6. Clean and Prepare for Painting
After sanding, clean the surface again to remove dust and debris. Wipe it down with a tack cloth or a damp cloth to ensure it’s dust-free. Make sure all areas to be painted are properly masked off to avoid overspray.
7. Apply Primer
Applying a primer is essential for a good paint job, especially on metal surfaces. Use a quality automotive primer suited for your paint type. Allow the primer to dry completely and sand lightly with fine sandpaper to ensure an even surface.
8. Final Inspection
Before proceeding to paint, inspect the surface again. Ensure all areas are smooth, clean, and adequately prepped. A meticulous inspection can save time and effort in the long run during the painting process.
By following these steps, you will successfully prepare your vintage car for painting, setting the stage for a beautiful restoration that brings out its timeless charm.
Expert Tips for Achieving a Flawless Finish on Antique Vehicles

Restoring classic vehicles is a meticulous process that demands attention to detail and a commitment to achieving a flawless finish. Here are some expert tips to help you reach that perfect look.
1. Surface Preparation is Key
Start by thoroughly cleaning the vehicle. Remove all dirt, grease, and old paint using appropriate solvents. Sanding the surface is crucial; use various grits, starting with a coarse paper and finishing with a fine one. This step ensures the paint adheres well and results in a smooth finish.
2. Use Quality Materials
Invest in high-quality primers, paints, and clear coats. Choose products specifically designed for automotive restoration to achieve the best results. Modern paint systems often provide superior durability and color retention, which are essential for classic cars.
3. Apply Paint in Controlled Conditions
Paint in a dust-free, climate-controlled environment. Ideal conditions involve a temperature of around 70°F (21°C) and low humidity. This minimizes the risk of dust contaminating the paint and prevents issues like bubbling or peeling.
4. Techniques Matter
Utilize spray guns for an even application of paint. Hold the gun at a consistent distance and move in smooth, steady strokes. Overlap each pass by about 50% to ensure uniform coverage. Avoid heavy builds that can lead to runs and uneven textures.
5. Correct Curing
Allow sufficient time for each layer to dry before proceeding. Follow the manufacturer’s recommendations for curing times. Proper curing enhances the longevity and durability of the finish, preventing premature wear.
6. Finishing Touches
Once the paint has cured, consider buffing the surface. A polishing compound can help achieve that showroom shine. Use a soft cloth or a buffer to gently polish the surface, focusing on areas that may need extra attention.
7. Protection and Maintenance
After achieving your flawless finish, applying a high-quality wax or sealant will protect the paint from environmental elements. Regular maintenance, including washing and waxing, will keep the vehicle looking pristine for years to come.

